Not sure where to start?
Answer a few simple questions and we’ll direct you to your perfect bed.
Enable notifications to get the best news on sales and special offers

With the new season of autumn rolled in, we prepare for the colder winter months in our homes, and especially, our bedrooms. We all want to take some time to decorate our environments. Through this, you can have fun before the cold winter strikes again. By creating a couple of DIY decorations, you can have your bedroom looking on trend through the colder months.
We created small, inexpensive DIY decorations for our evergreen bedroom wall with some dried flowers and ivy leaves and a dried wreath. You can choose to make all or just one of these to add seasonal touches to your bedroom.
For the ivy wreath you’ll need:

Weave the vine twigs into a circular shape of a wreath. Alternatively, purchase a simple wreath from any homeware store. Use the floral wire to attach evergreen ivy leaves to the wreath.
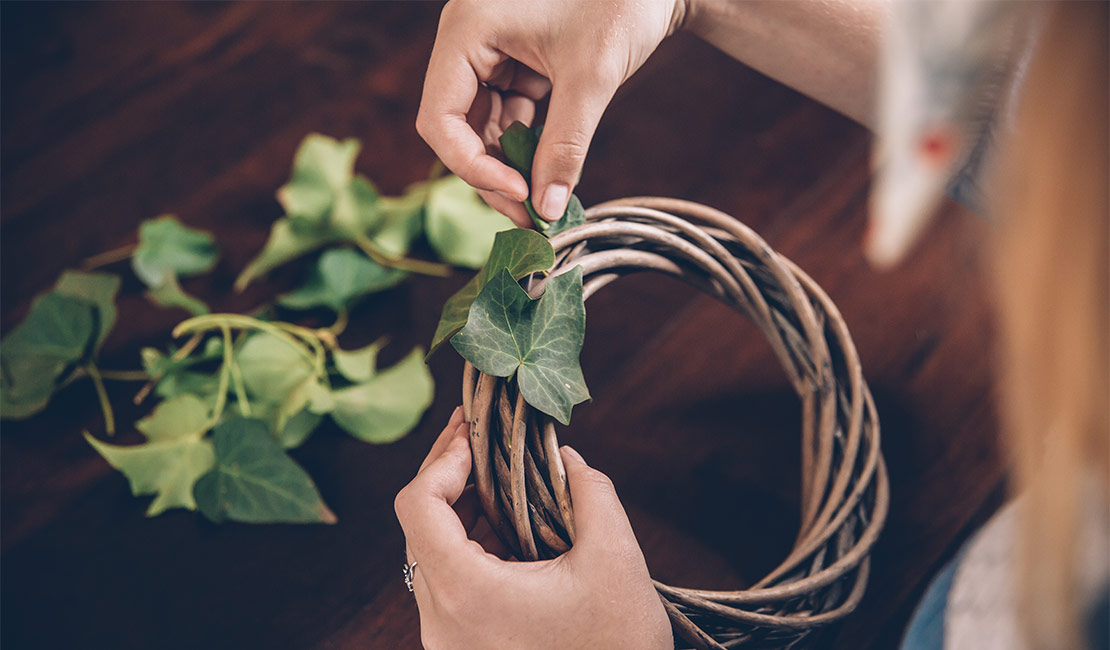
You can place your ivy wreath as a centrepiece to your wall art assembly. Remember to regularly dust off your wreath and check for any micro organisms moving in. The wreath is made of natural elements, so it will naturally attract bugs and other organisms. To prevent this from happening, regularly spray your cotton wreath with some sort of disinfectant or bug spray.
For the framed flowers you’ll need:

Next, prepare the background for the flowers in the picture frame. Choose solid coloured paper for the background of your flower. Be sure to use a color that will join in on the color theme and match your flowers.
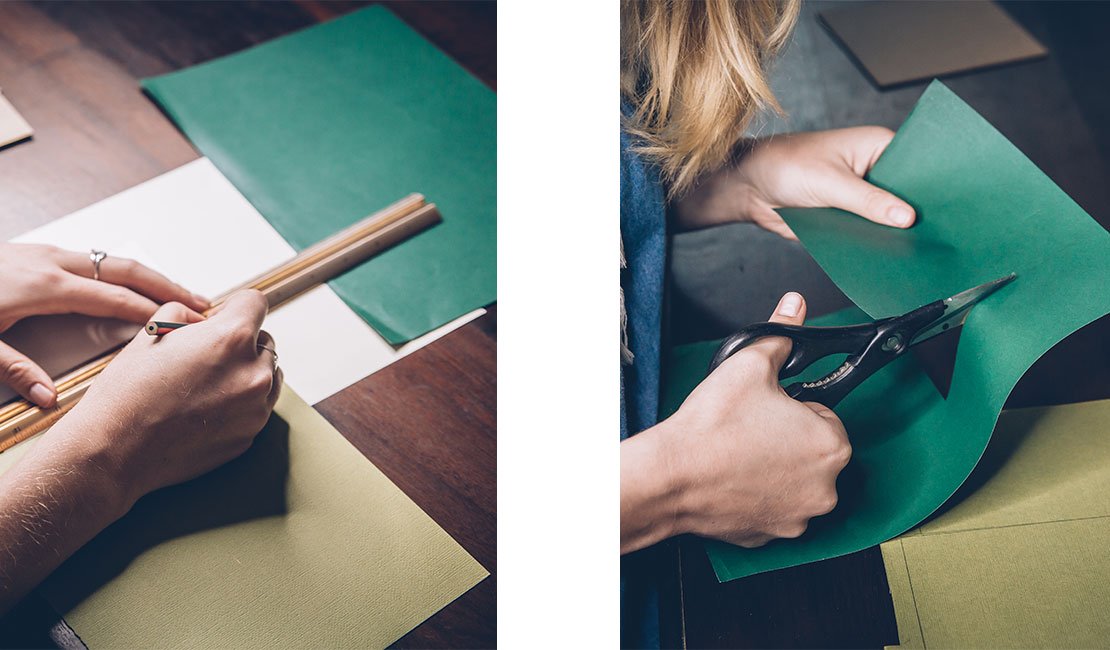
Pick flowers and press them in between the pages of a heavy book for 2-3 weeks. Once they’ve dried, remove them from the books to place them in a picture frame.
Assemble the picture frames and add to your wall assembly. To best suit your style and bedroom atmosphere, choose the right orientation of wall art.
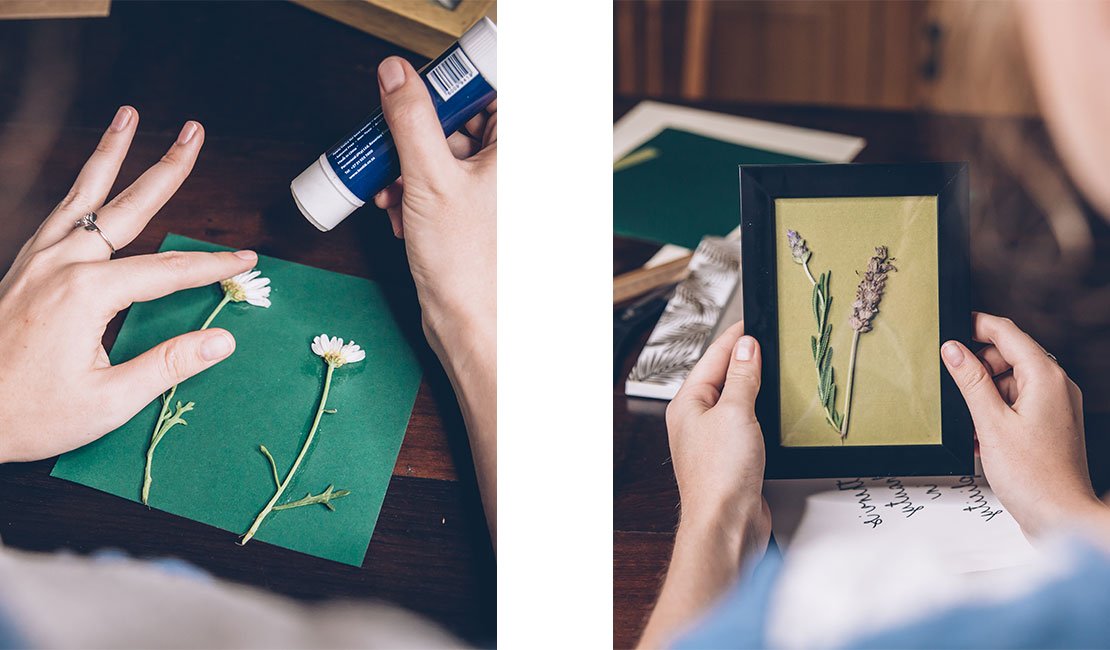
For a crisp and neat look, hang your wall decor in vertical or diagonal lines. Alternatively, you can opt for different orientations such as circular or diagonal assembly for a more dynamic look.
For the framed drawings you’ll need:
Drawing pictures for the bedroom wall can seem intimidating. You do not have to fear this, however, since you don’t have to be a professional artist to draw a few simple lines.
Firstly, choose an image or quote that you’d like to draw. Make sure to use a simple image that consists of very little detail. The more detail, the harder it will be to get the desired look.

Next up, copy the drawing with your pencil to a piece of coloured paper. It’s imperative that you start off with a pencil drawing. This way, you can easily erase any mistakes.
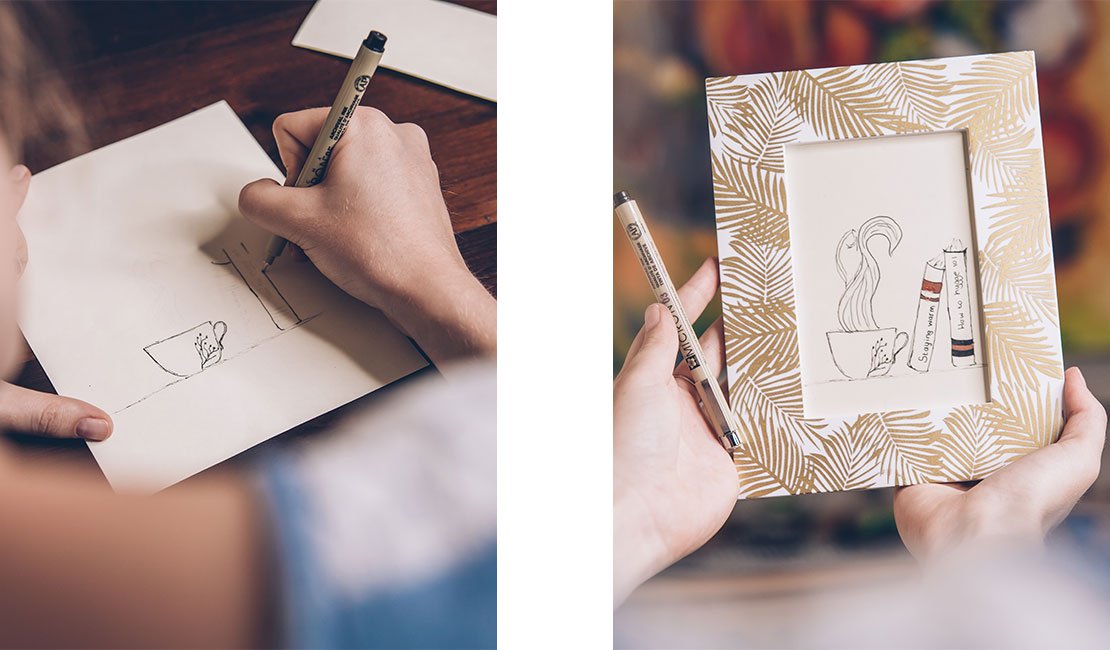
When you’ve completed your pencil drawing, go over the lines with a pen to create clear, vibrant lines. Assemble your drawing in the frame to display your art on the wall.
Another type of line art is “cheat” calligraphy. Only a select few have the abilities to form perfect pen strokes to create extravagant letters. Using the “cheat” way is much simpler and requires hardly any skill at all.
When creating a quote, using different fonts will create a dynamic look with variety. We started by pencilling simple, block capital letters.

Next up is the calligraphy. We were all taught how to write in cursive at school. Tap into your cursive skills by writing a word in large, cursive style. To make it look fancy like calligraphy, go back and draw an extra line on all the downstrokes.
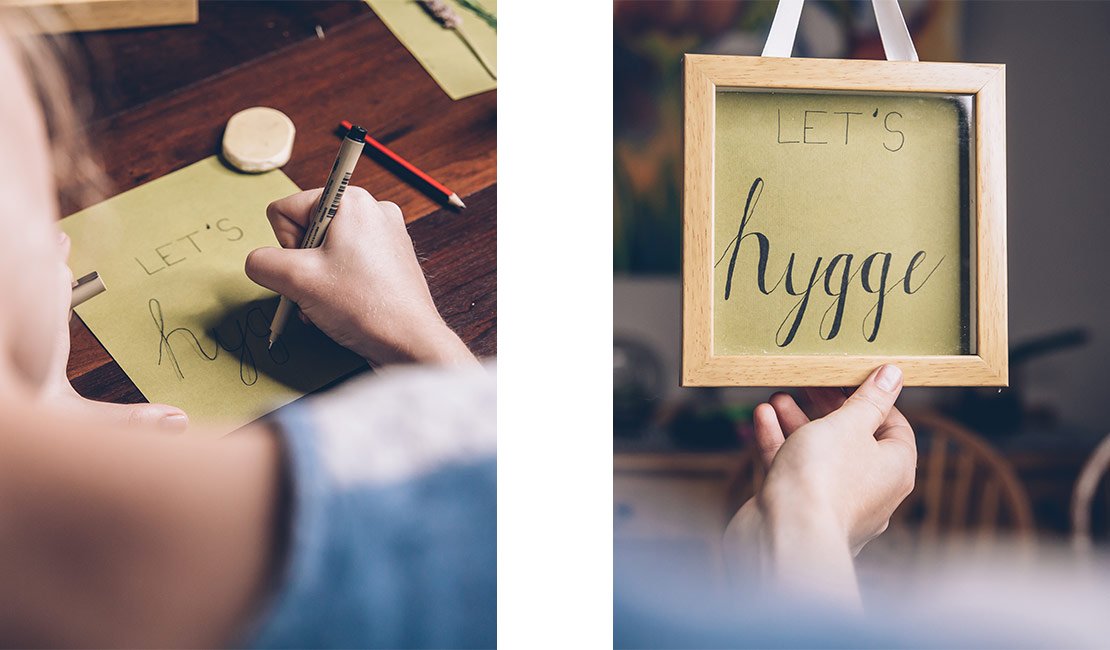
Redraw your writing with a pen for extra vibrancy. Make sure to fill in the downstrokes with your pen for a complete calligraphy look.
Erase any visible pencil markings and assemble your writing to the frame.
In addition to decorating the walls, you’ll want your shelves and bedside table to join in on the DIY fall decorations.
Start off by adding a beautiful bouquet of seasonal flowers to your bedroom. Choose a vase that suits your decorative theme to tie it all together. Fall flowers include:
Additionally, feel free to add other elements like small ornaments and photo frames to your shelves to tie the whole bedroom together. When adding finishing touches to your bedroom makeover keep in mind that less is more. Furthermore, keep everything tied together with a consistent colour scheme. You don’t want to overcrowd your bedroom with too many different elements.
For further tips and tricks on transforming your bedroom for the new season from start to finish, click here.
Why Single Beds Are Making a Comeback: Secrets to a Functional Home
From Dorm Room to First Apartment: Why a Double Mattress Is Ideal
Double Beds: Memory Foam vs. Spring Mattresses Pros and Cons
Compact Solutions: 5 Best Couch Beds for Urban Living
Caring for Your Headboard Set: Essential Maintenance Tips
How to Match Your Bed Headboard to Your Bedroom Decor
The King Size Bed: Key to a 5-Star Sleep Experience
Size Guide: Finding the perfect mattress for your Queen bed
Affordable Bed Sets: What Makes it Worth the Splurge?
Local Treasures: Unveiling the Best Bed Mattresses for Sale Nearby